Static Site Generation
enYou can generate the static site (SSG) as a part of the synchronization process with GitHub.
This manual describes configuring the build pipeline to apply the docker with the Jekyll template for SSG.
TermX space and Github setup
- Navigate to Spaces and select your desired space.
- Go to Space configuration and set up “GitHub integration.”
2.1. Please read more on the GitHub and GitHub App pages.
2.2. Insert your GitHub repository URL.
2.3. Validate that thewiki-ssgfolder location is set up to__source.
2.4. Clear other folder locations (if they are not in use).
2.5. Save your settings.
Setting Up a GitHub Repository
If you haven’t set up a GitHub workflow, follow the steps below to create it.
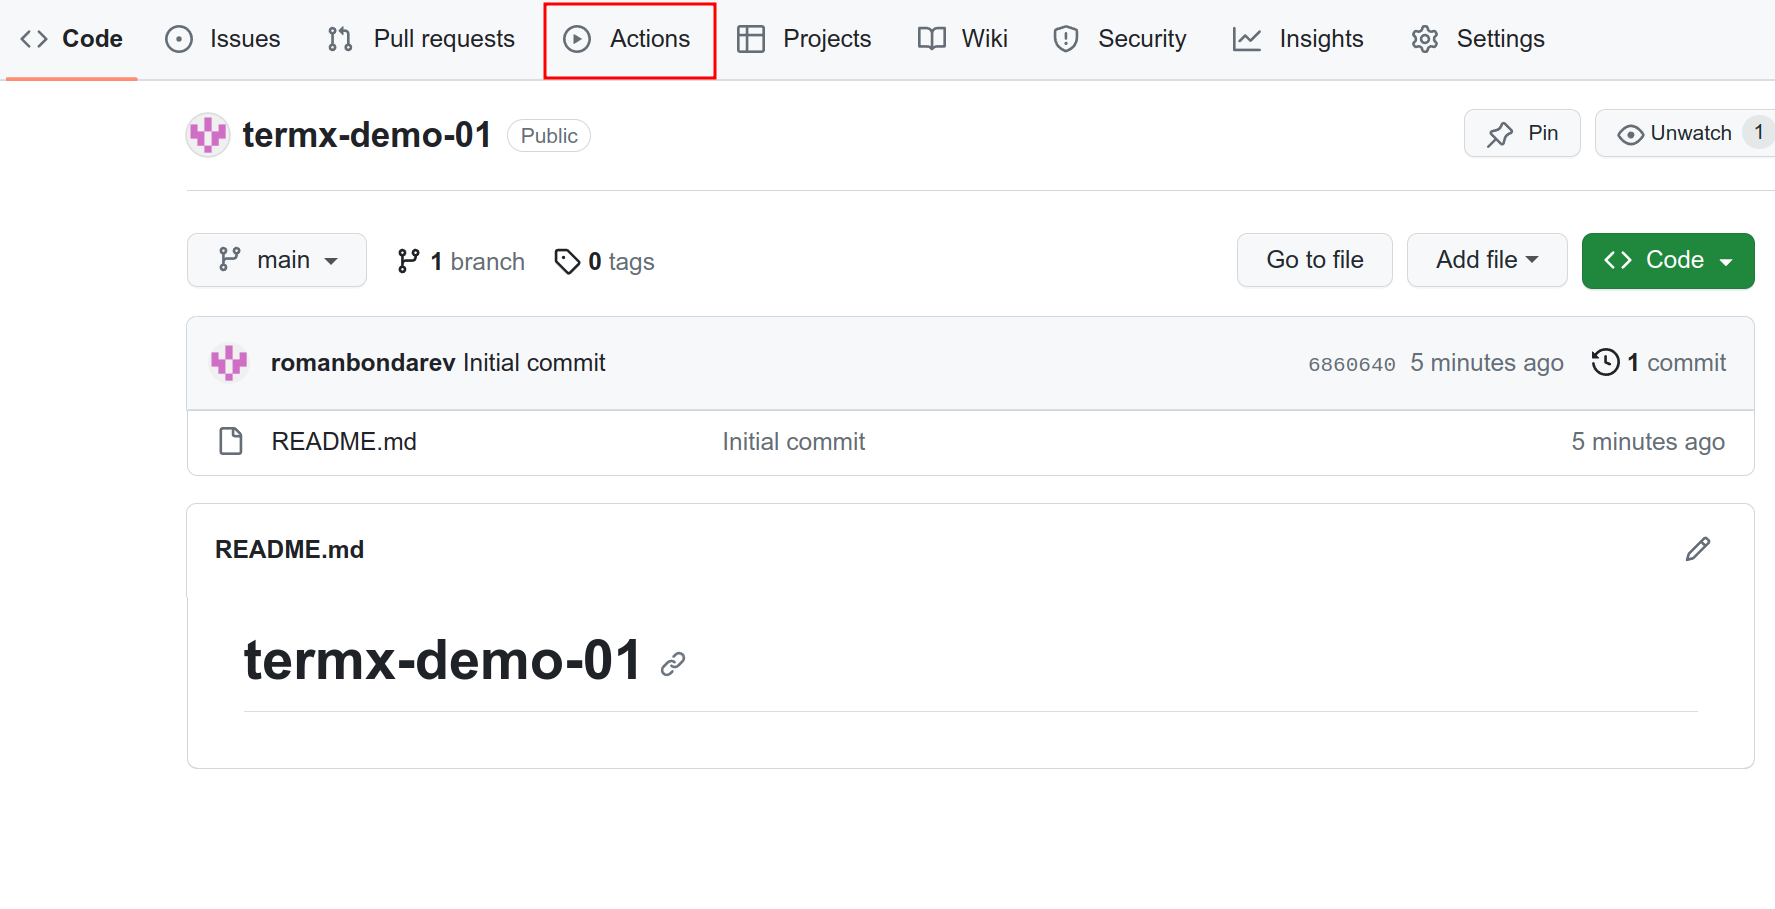
Navigate to GitHub Actions
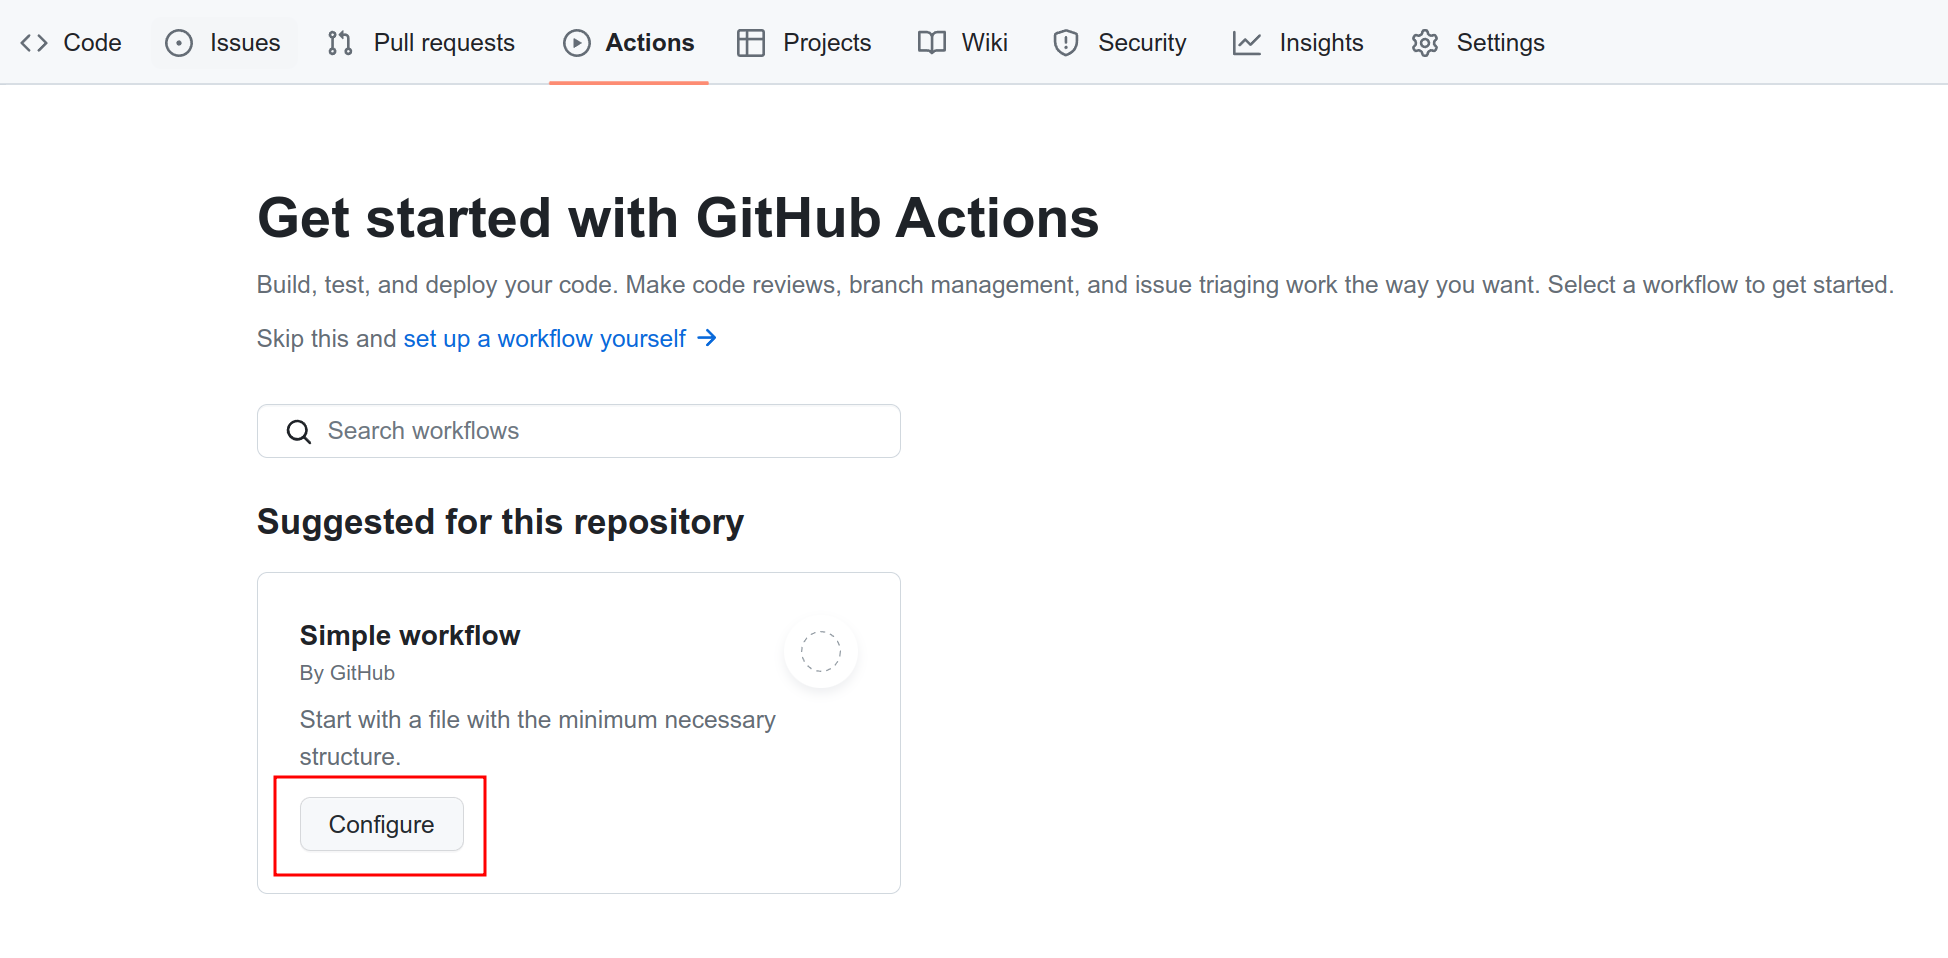
Configure workflow
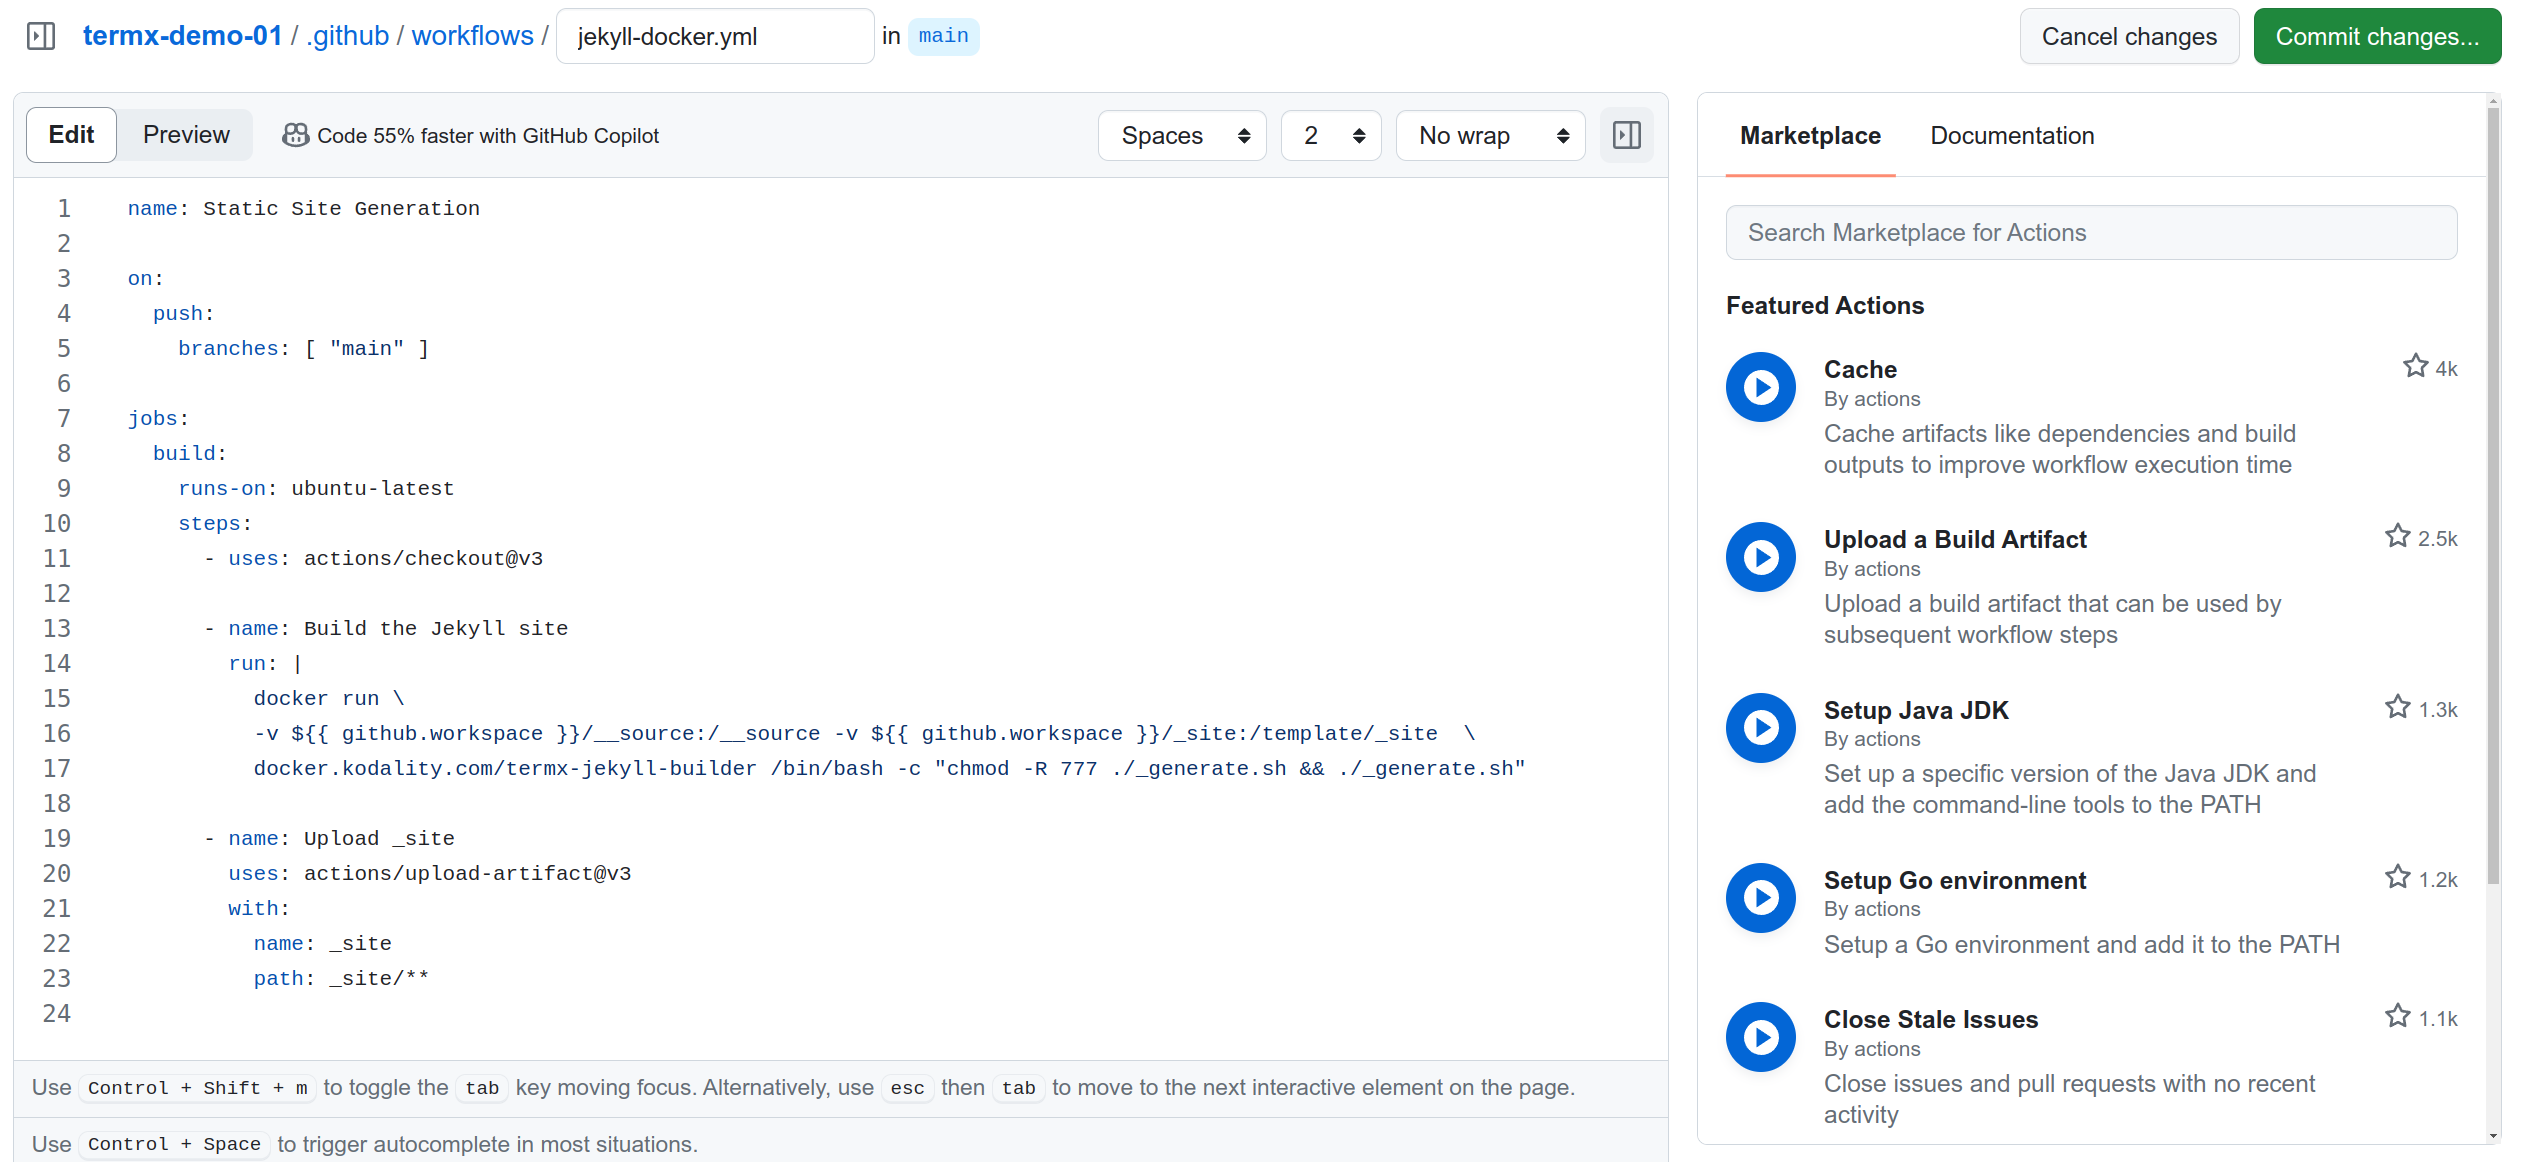
View .github/workflows/jekyll-docker.yml configuration file
name: Static Site Generation

on:
  push:
    branches: [ "main" ]

jobs:
  build:
    runs-on: ubuntu-latest
    steps:
      - uses: actions/checkout@v3

      - name: Build the Jekyll site
        run: |
          docker run \
          -v ${{ github.workspace }}/__source:/__source -v ${{ github.workspace }}/_site:/template/_site  \
          docker.kodality.com/termx-jekyll-builder /bin/bash -c "chmod -R 777 ./_generate.sh && ./_generate.sh"

      - name: Upload _site
        uses: actions/upload-artifact@v3
        with:
          name: _site
          path: _site/**
How to Run
Opening the Space view. You’ll find an ellipsis icon in the top right corner of the Space’s context bar (…). Hover over this icon, and a dropdown menu will appear. From this menu, select “Sync with GitHub.”
You’ll be redirected to a GitHub preview page where, after a short delay, the changes between TermX and GitHub should become visible. Confirm that you’ve selected all the necessary items for synchronization, then click the “Push changes to…” button.
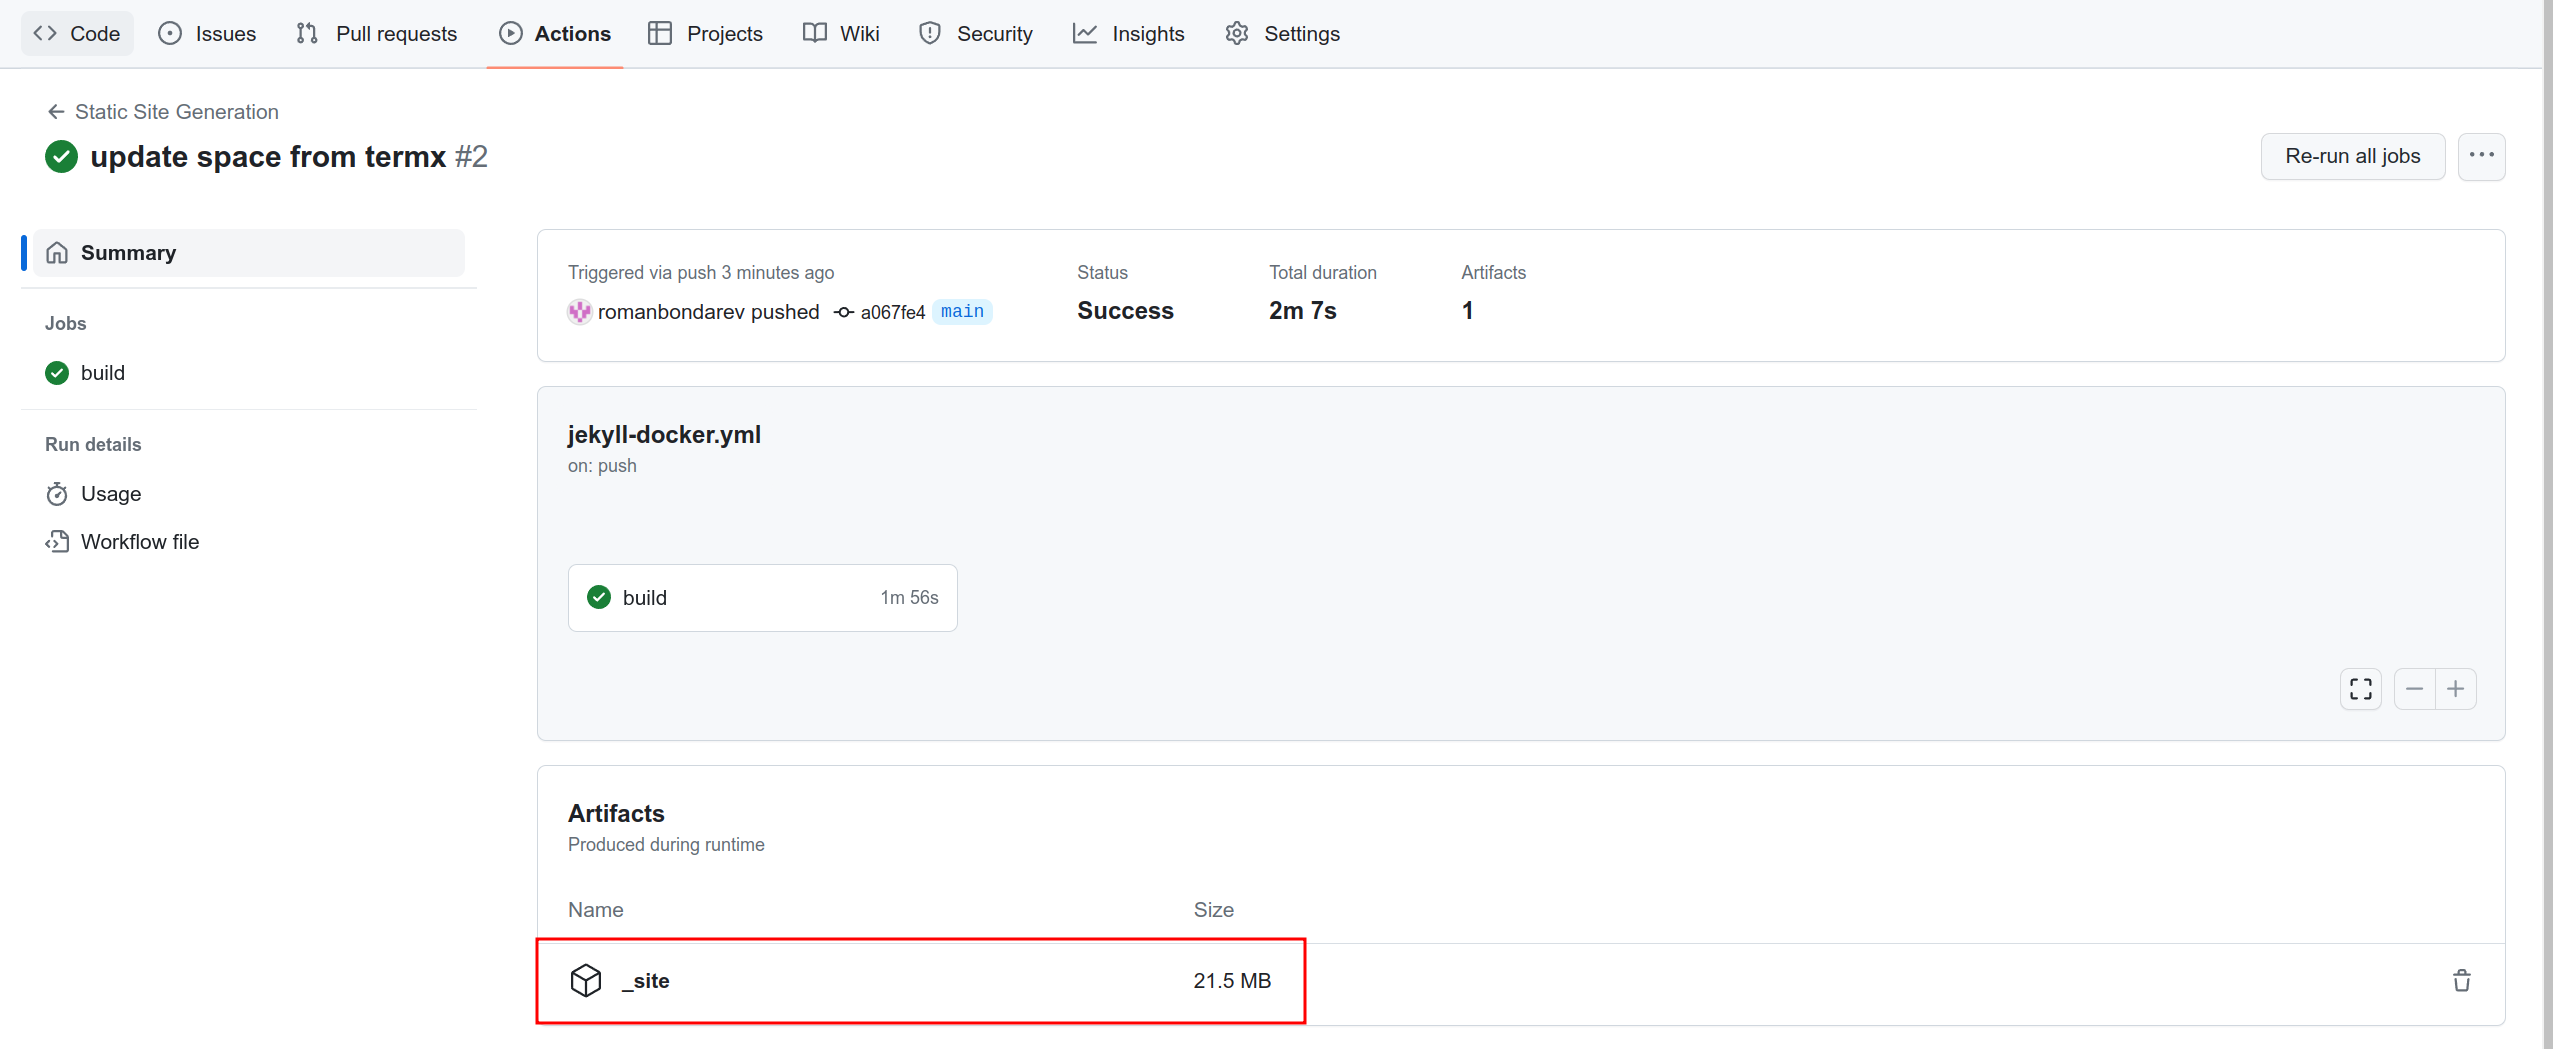
Navigate to your GitHub repository after everything is successfully pushed to your repository. In your repository’s menu, locate the “Actions” section. Here, you’d find a running or completed workflow.
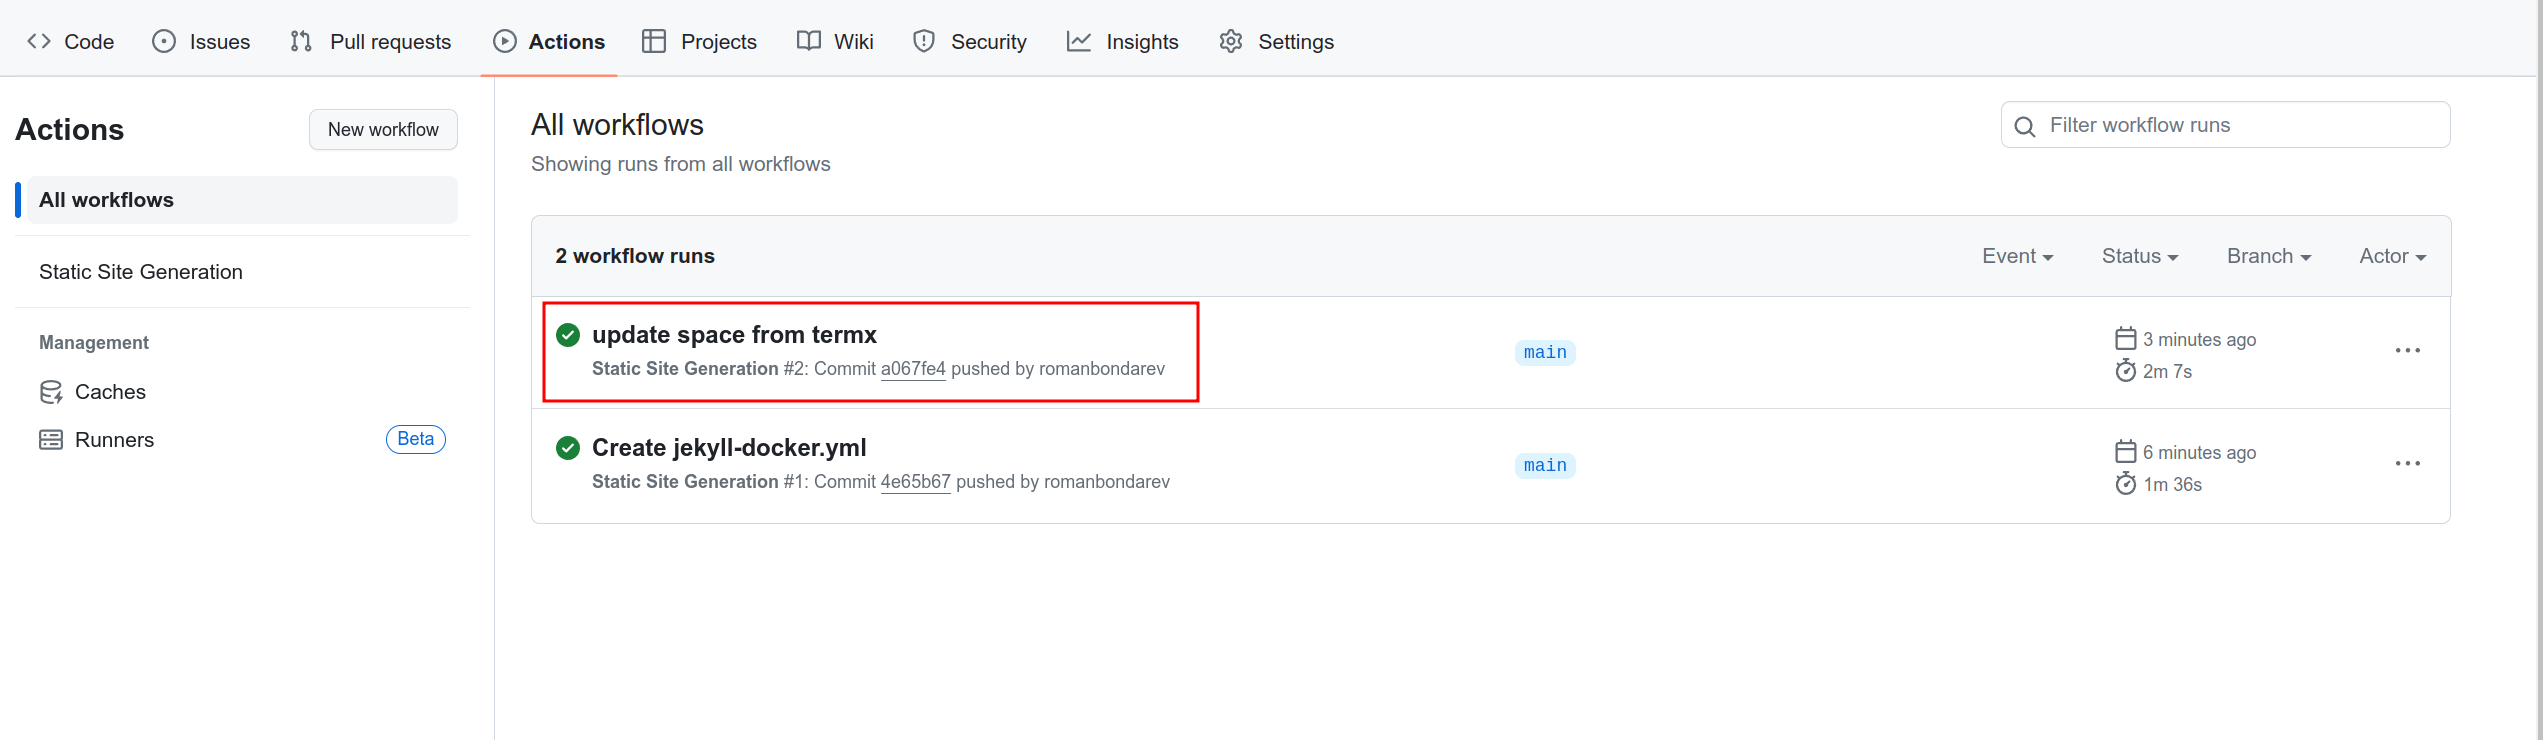
Scroll down to the “Artifacts” section within the workflow. There you’ll find the built static site, ready for download.
About the Static Site Generator
In brief, the Docker image includes all essential tools for constructing the static site. It scans the __source folder and its contents to create the static site.
Firstly, it transforms .md files into .html files using the same Markdown parser found in the TermX Wiki. However, some changes have been made to accommodate the necessary user experience for the generated static site.
During the transformation, the parser:
- Replaces paths to attachments to make them work in the static site.
- Replaces links with external links that cannot be found in the static site.
- Converts Draw.io diagrams to SVG.
- Converts PlantUML diagrams to SVGs and saves the output into assets (requires an internet connection for UML transformation).
- Renders Mermaid diagrams and saves the output into assets.
- Prepares StructureDefinition blocks for display using the
@kodality-web/structure-definition-viewercomponent.- Transforms FSH code blocks into JSON files.
- Replaces the
{{def:sd-code}}block with content from the correspondingsd-code.jsonfile found in__source/resources/structure-definitions.
Then, using the just-the-docs template, it populates the necessary folders and files necessary for generation.
After everything is transferred to the right places, the Jekyll generation is run, resulting in the generated static site, which is found in the _site folder.
The source code can be found here.